cPanel is a great tool to control your website hosting. With Olive & Lake’s website hosting service you get access to your own cPanel account and you can have unlimited email addresses.
If you are hosting with another company, the instructions here should work to create email accounts on any cPanel.
1. Login to cPanel
To login to cPanel you need to go to your website link and add /cpanel/.
Example – https://yourdomain.com/cpanel/
If you don’t know how to login to cPanel, click take a look at our knowledge base article “How to Login to cPanel“.
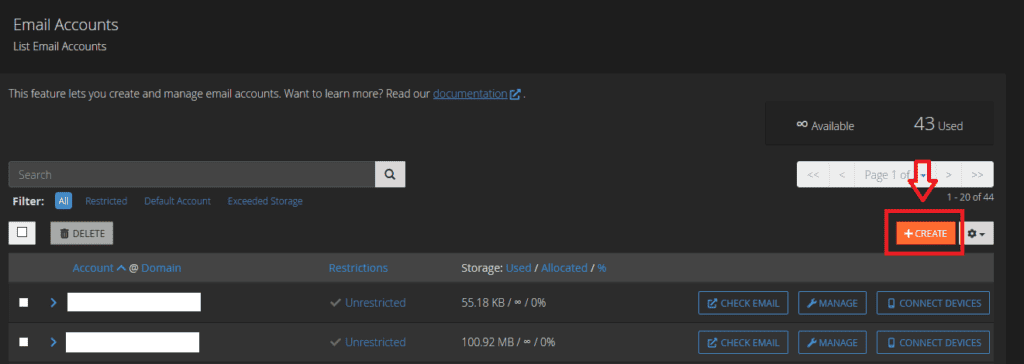
2. Go to “Email Accounts”
When you’re logged in, scroll down to the “Email” section and then click on “Email Accounts”
This will take you to the list of your email accounts where you can create new accounts, remove accounts, change passwords, edit quotas and more.

3. Create Your Email
When you open the “Email Accounts” page, you will see lists of your emails (if they already created).
On the right side, there is a button saying “+ Create”. Click on the button to start creating your email account.
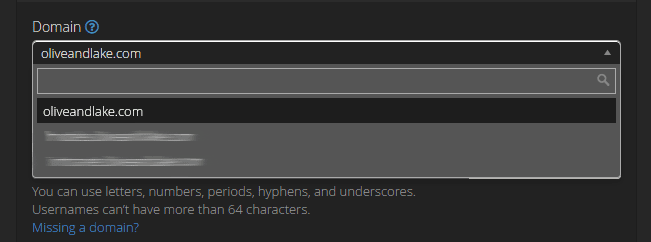
4. Choose a Domain
Now, you are at the account set up.
First, you need to choose a domain (if you have more than one).
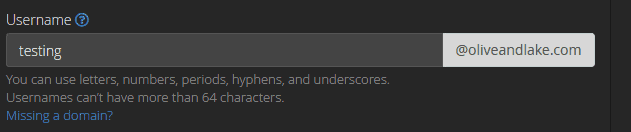
5. Create Username
Once your account is created, you need to type your username.
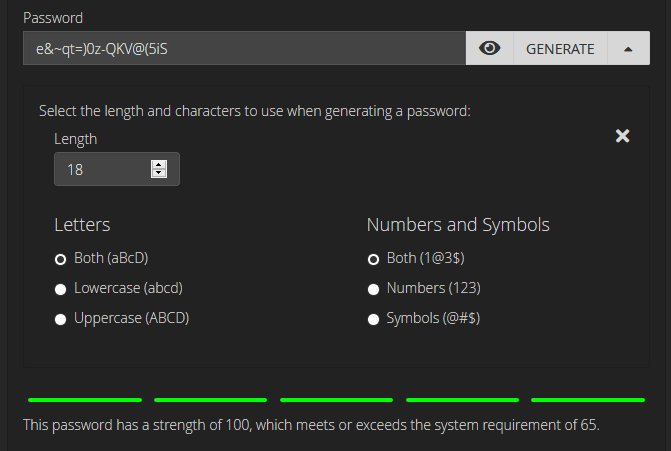
6. Create a Password
Next, you will need to create your password for the new email account.
You can type the password inside the box and save it. Alternatively, you can generate your own password.
Whatever password you choose, make sure that you use a combination of uppercase and lowercase letters, numbers and symbols. The score must be over 65 before cPanel will accept the password.
7. Storage Space
You can set limits on the storage page or you can set it to unlimited.

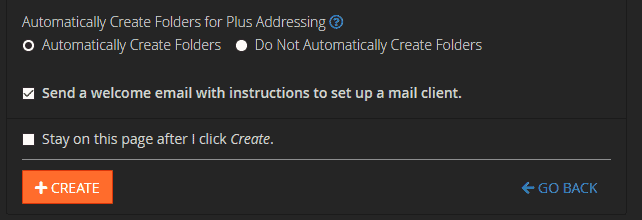
8. Create Folders
Finally, you can keep the default settings and click the ” + Create” button to create your email.
Your email will have been instantly created and you can now login to webmail or set up your emails on your favourite email client or device.